Skip to content

Razorpay gateway

Free plugin

The free Razorpay payment gateway for WooCommerce

Accept UPI, cards, netbanking, wallets, EMI and Pay Later with your own Razorpay account, and run memberships and subscriptions as Razorpay Subscriptions.
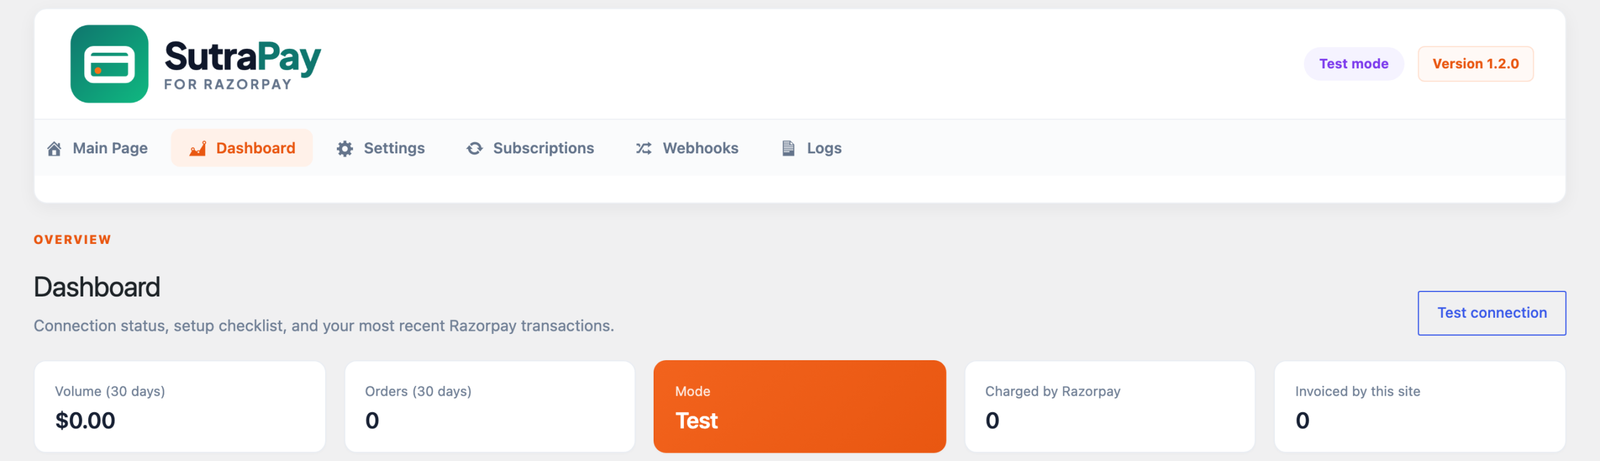
SutraPay for Razorpay: hero screen

Every payment verified

signature, order, amount and currency
Why SutraPay for Razorpay

Razorpay payments and subscriptions done properly

Standard Checkout, server-side verification, refunds, payment links and subscriptions that follow your store’s prices.

UPI and more

UPI, cards, netbanking, wallets, EMI and Pay Later: choose which ones are offered.

Popup or redirect

Razorpay Standard Checkout as a popup on the order Pay page, or on its own page that returns to your store.

Verified on the server

Razorpay's signature, the order, the amount and the currency are checked before an order is marked paid.

Refunds and capture

Full and partial refunds from WooCommerce, optional manual capture, Dashboard refunds recorded.

Payment links

Send an e-mail or SMS payment link for any unpaid order from the order screen.

Razorpay Subscriptions

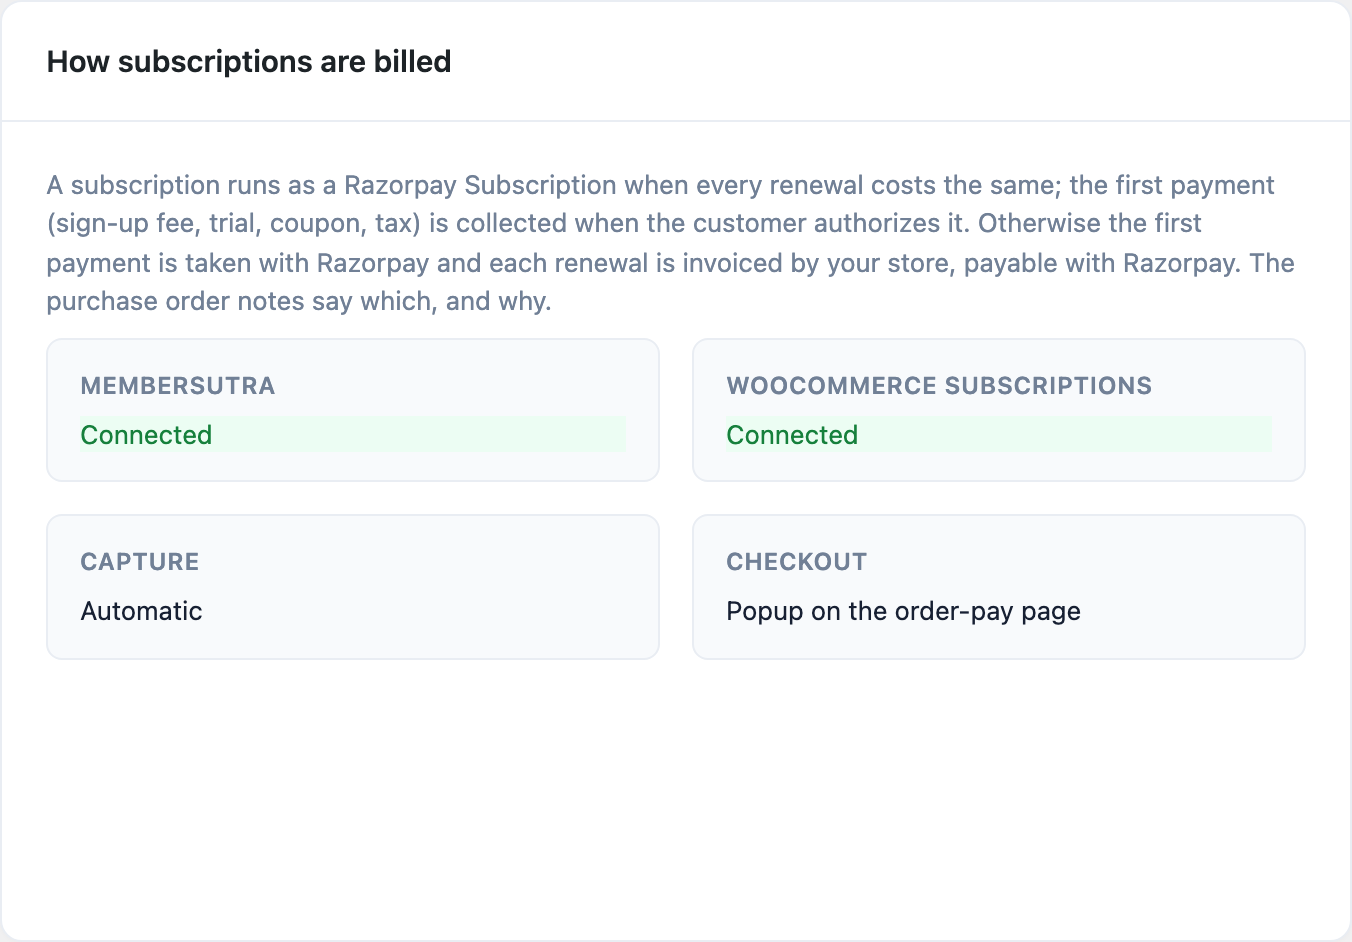
Subscriptions from MemberSutra and WooCommerce Subscriptions run as Razorpay Subscriptions when every renewal costs the same.

How it works

Built for the way you run your store

Subscriptions

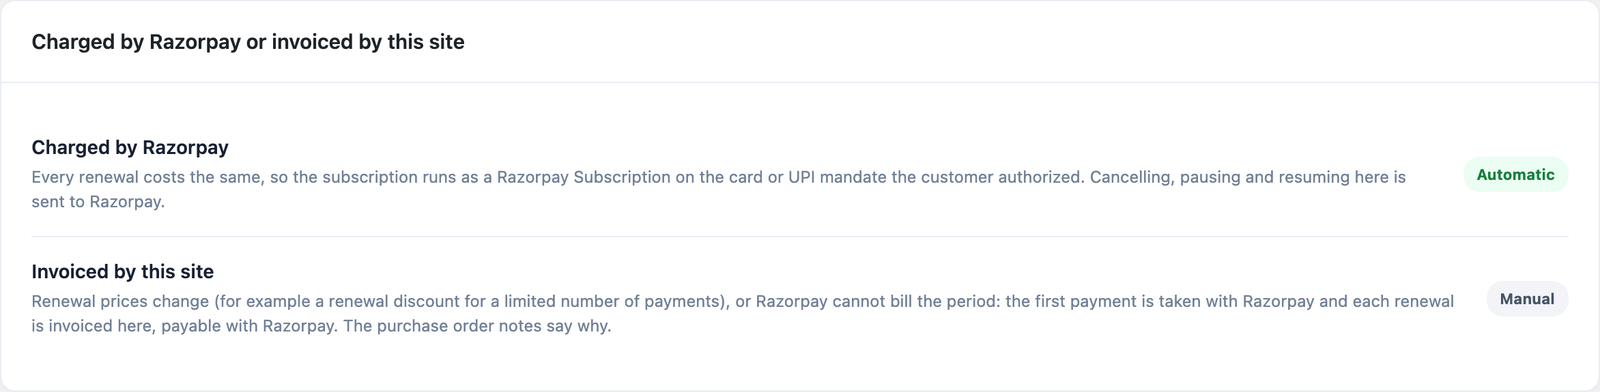
Billed by Razorpay, or by your store when prices change

When every renewal costs the same, the subscription runs as a Razorpay Subscription. When renewal prices change over time, the first payment is taken with Razorpay and each renewal is invoiced by your store, payable with Razorpay.

SutraPay for Razorpay: billing screen
SutraPay for Razorpay: subs screen

Renewals

Every renewal recorded on your store

Razorpay renewals, failed charges and cancellations made in the Razorpay Dashboard are recorded on your store, and Razorpay plans are created automatically for each price and interval.

Get started

Set up in three steps

1

Install and add your keys

Install the plugin, open WooCommerce > SutraPay for Razorpay > Settings, add your Test and Live API keys and use Test connection.

2

Add the webhook

In the Razorpay Dashboard add a webhook with the URL shown under Webhooks, select the listed events and paste the secret into Settings.

3

Turn it on

Enable the gateway at checkout, choose the methods to offer and, for subscriptions, turn on Razorpay Subscriptions in your account.

Compatibility

Works with the store you already have

FAQ

Frequently asked questions

Do I need my own Razorpay account?

Yes. The plugin connects your Razorpay account to your store.

INR, and USD, EUR, GBP, SGD, AED, CAD, AUD and MYR when International Payments are enabled on your Razorpay account. Subscriptions use the currencies your account supports for Razorpay Subscriptions; when Razorpay refuses one, the subscription is billed by your store instead.

A Razorpay plan charges one price for every renewal. If a renewal costs a different amount (a limited-time renewal discount, a scheduled sale, a coupon that ends), or the order has several subscriptions, Razorpay cannot bill it, so the store invoices each renewal and the customer pays it with Razorpay. The purchase order’s notes give the exact reason.

The official razorpay-php SDK 2.9.3, bundled under its own namespace so it never conflicts with another copy, and sending its requests through the WordPress HTTP API.

Start accepting UPI and cards today

Free forever. You pay only Razorpay’s own fees.